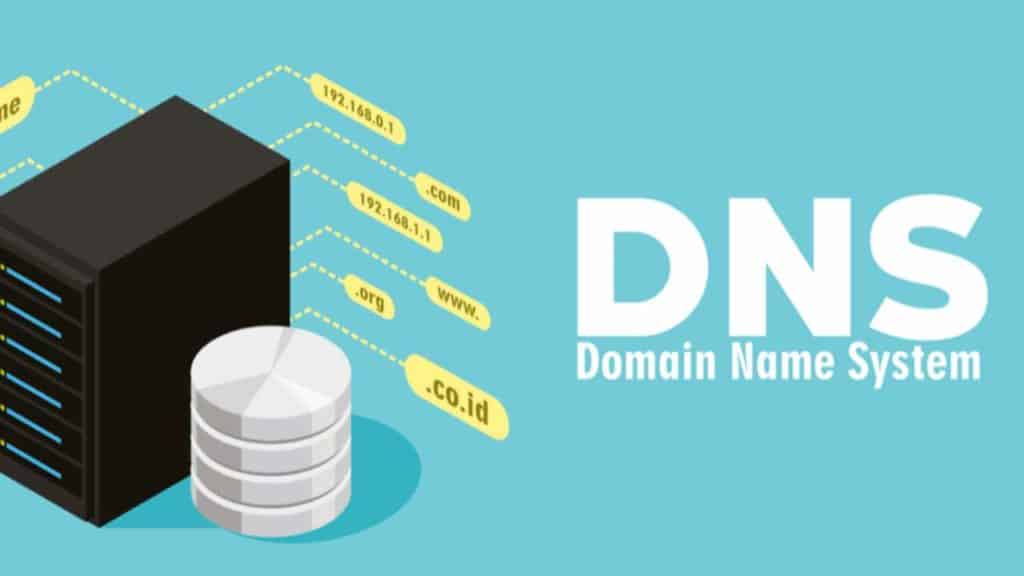
The Domain Name System (DNS) is often likened to the phonebook of the internet. Instead of manually entering a series of numbers (IP addresses) to access websites, we type in domain names, like google.com. The DNS translates these domain names into IP addresses, allowing browsers to load the desired web page.
By default, you use the DNS servers your internet service provider assigned. However, changing your DNS server can sometimes improve browsing speed, enhance security, and even bypass certain regional restrictions.
And if you use a VPN, your VPN provider likely has its own DNS servers. If they work well (you can check if they do by performing a DNS leak test), you don’t need to change your DNS server manually. Otherwise, here’s a step-by-step guide for changing the DNS server on Windows and macOS.

Changing DNS Server on Windows
Changing your DNS settings on Windows is straightforward. By following these steps, you can easily switch to a DNS server of your choice:
1. Access Network Connections
● Right-click on the network icon in your taskbar.
● Select “Open Network & Internet settings.”
● Click on “Change adapter options.”
2. Select Your Connection
● Find and right-click on your active connection (it could be Ethernet, Wi-Fi, or another connection).
● Choose “Properties.”
3. Navigate to Internet Protocol Version 4 (TCP/IPv4)
● In the properties window, find “Internet Protocol Version 4 (TCP/IPv4).” ● Click on it and then click “Properties.”
4. Enter the DNS Addresses
● Select “Use the following DNS server addresses” in the new window ● Enter your preferred and alternate DNS addresses.
● Click “OK” to save the changes.
5. Restart Your Connection
● To ensure the changes take effect, disable your connection and enable it again.
Changing DNS Server on macOS
Changing the DNS server is slightly different but equally simple for macOS users. Apple’s intuitive interface ensures that even those unfamiliar with system settings can easily make the change. Here’s how:
1. Open System Preferences
● Click on the Apple icon in the top-left corner of your screen.
● Select “System Preferences.”
● Click on “Network.”
2. Choose Your Connection
● Select your active connection (Wi-Fi or Ethernet) on the left panel.
3. Access DNS Settings
● Click on the “Advanced” button.
● Navigate to the “DNS” tab.
4. Add DNS Addresses:
● Click the “+” button below the DNS Servers box.
● Enter your preferred DNS address.
● Repeat the process to add an alternate DNS address.
5. Save and Apply:
● Click “OK” and then “Apply” to save the changes.
What DNS Server Should You Use?
While changing your DNS server offers many benefits, it’s crucial to ensure you choose a reliable and trustworthy DNS provider. There are several reputable options available:
● Google DNS: Developed by Google, this free DNS service aims to make the internet more reliable and secure. It addresses several common issues users face, such as phishing attacks and navigating to error pages.
● Cloudflare: Known primarily for its content delivery network, Cloudflare also offers a free public DNS service. It focuses on privacy, promising never to log IP addresses, and works to improve browsing speed.
● OpenDNS: Acquired by Cisco, OpenDNS offers free and premium DNS services. It provides features like phishing protection and content filtering, making it a popular choice for families and schools.